
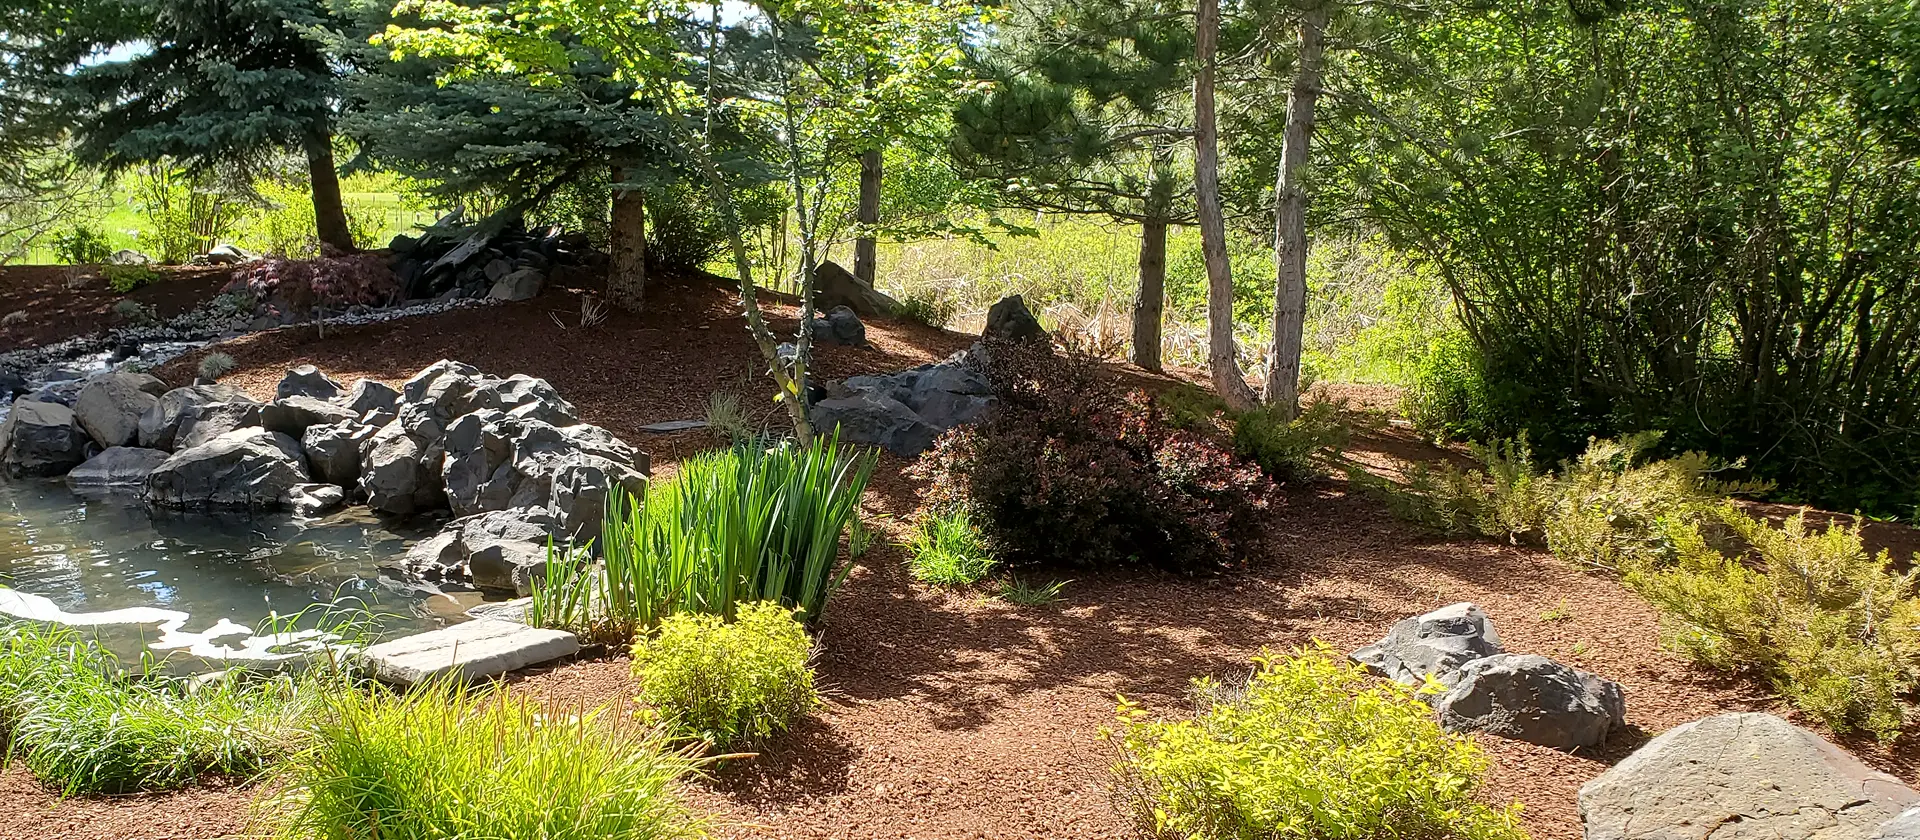

To prep garden beds for mulch, remove weeds and loose debris, redefine bed edges, trim overgrown plants, check irrigation, mark sprinkler heads and landscape lighting, correct obvious soil problems, and make sure the crew has a clear route from the blower truck to the beds. At Alpine Bark Blowing, we generally target a finished bark depth of about 2 to 3 inches, enough to improve moisture retention and weed suppression without burying plant crowns. Penn State Extension also recommends a 2 to 3-inch settled mulch layer and keeping mulch away from plant stems and tree trunks.
Good preparation lets our blower crew focus on creating smooth, consistent coverage instead of working around hidden irrigation components, weeds, debris, or unfinished bed edges.
1. Pull Weeds Before Fresh Bark Goes Down
Good weed control before mulching starts before the truck arrives.
Fresh bark helps block sunlight from reaching weed seeds, but established weeds can still push through the new layer. We recommend removing weeds by the roots whenever practical.
Clear out:
- Broadleaf weeds
- Grasses spreading into beds
- Volunteer seedlings
- Dead annuals
- Fallen branches
- Thick leaf buildup
- Trash and landscape debris
University of Minnesota Extension also recommends removing existing weeds before mulch application and maintaining an adequate mulch depth for continued suppression.
Avoid simply burying a heavy weed problem beneath new bark.
2. Edge Lawn and Landscape Bed Lines
One of the biggest visual improvements can happen before any bark is installed.
Use a flat shovel, half-moon edger, or powered edging tool to create a clean separation between lawn and planting beds.
Defined edges help:
- Keep bark out of turf
- Create cleaner curves
- Give blower crews clear boundaries
- Reduce future grass encroachment
- Produce a sharper finished landscape
When preparing landscape beds for bark, complete major edging before installation rather than trying to cut through fresh mulch afterward.
3. Remove Excess Old Mulch Where Necessary
Old bark does not always need to be removed.
Organic bark gradually breaks down and can contribute organic matter to the soil. However, beds that already contain several inches of undecomposed material may not need another full layer.
Check the existing depth.
If 2 inches remain, adding roughly another inch may be enough to restore coverage.
Alpine Bark notes that bark installed at a 2 to 3-inch depth may last approximately two to three years, depending on slope, traffic, and site conditions.
Too much accumulated mulch can also trap moisture against stems or cover root crowns.
4. Correct Soil Problems Before Covering the Bed
Fresh bark improves the surface, but it cannot correct every soil problem beneath it.
Before installation is an excellent time to address:
- Compacted soil
- Low planting areas
- Poor organic matter
- Exposed roots
- Eroded beds
- Settled areas around shrubs
If a bed needs compost, topsoil, or another soil amendment, complete that work before the final bark layer.
We want the mulch to protect and finish a properly prepared growing area rather than hide a problem that still needs correction.
5. Water Very Dry Beds Before Installation
During dry Inland Northwest weather, extremely dry soil can become difficult to rewet evenly.
If the planting beds are dusty and severely dry, give the soil a moderate watering before service. The goal is to restore soil moisture, not create mud.
Avoid soaking the property immediately before the crew arrives. Saturated beds can make cleanup more difficult and may create footprints or equipment access problems.
Alpine Bark recommends shutting sprinkler systems off the night before a scheduled bark-blowing appointment to support cleaner installation and cleanup.
A practical approach is to water dry soil ahead of time, then allow the surface to settle before service day.
6. Flag Sprinklers, Drip Valves and Landscape Lighting
This is one of the easiest ways homeowners can help a bark-blowing crew.
Before installation, clearly mark:
- Pop-up sprinkler heads
- Valve boxes
- Drip emitters
- Hose connections
- Low-voltage lighting
- Utility covers
- Small drainage grates
- Invisible dog-fence components
- Delicate plants
Use landscape flags or another obvious temporary marker.
Alpine Bark specifically recommends checking irrigation and marking components that could otherwise become covered during bark installation.
Marking them also makes future maintenance easier because contractors can avoid unintentionally burying access points.
7. Prune Low Branches and Overgrown Shrubs
The blower hose needs access to the bed surface.
Trim low branches, spent perennials, and excessively overgrown shrubs before the installation date.
This helps us place bark:
- Under shrubs
- Around plant groups
- Along foundations
- Behind landscape features
- Across narrow beds
Do not prune simply to create open space if the plant should not be cut during that season. The goal is removing obvious obstructions and dead growth.
8. Keep Mulch Away From Trunks and Plant Crowns
More mulch is not always better.
We generally aim for 2 to 3 inches of finished bark across landscape beds while leaving breathing room around trunks, woody stems, and plant crowns.
Penn State warns that continuously moist mulch directly against trunks can encourage bark deterioration and other plant-health problems.
Think of mulch as a protective blanket over the soil, not something that should be piled against the plant itself.
9. Clear the Blower Truck and Hose Route
Professional bark blowing eliminates much of the wheelbarrow labor associated with bulk mulch, but the hose still needs a practical route from the truck to the landscape.
Before service:
- Move vehicles away from access areas
- Unlock gates
- Remove toys and garden tools
- Secure pets
- Point out fragile hardscape
- Mention steep slopes or narrow passages
- Close nearby windows and doors
Our professional bark blowing service uses blower equipment to distribute material efficiently into hard-to-reach landscape areas while reducing manual hauling across the property.
10. Confirm the Desired Bark Depth Before Installation
A common mistake is ordering bark based on appearance rather than actual square footage and depth.
Alpine Bark’s coverage guide shows that one cubic yard covers approximately:
162 sq. ft. at 2 inches
108 sq. ft. at 3 inches
For most established landscape beds, a finished 2 to 3-inch layer provides a strong balance between moisture conservation, weed suppression, and root-zone aeration.
Our related guide on why mulch depth matters for weed suppression explains why thin coverage often leads to faster weed breakthrough.

A Simple Bark Blowing Prep Checklist
Before the truck arrives, we recommend checking off the following:
- Pull existing weeds
- Remove leaves and debris
- Edge bed lines
- Check existing mulch depth
- Add soil amendments when needed
- Correct low or eroded areas
- Water severely dry soil ahead of time
- Shut sprinklers off the night before
- Flag irrigation and lighting
- Prune obvious obstructions
- Clear gates and hose routes
- Secure pets
- Close windows and doors
- Confirm bark type and desired depth
Better Preparation Creates Better Bark Coverage
At Alpine Bark Blowing, we can handle the hard part of moving and distributing bulk bark, but a prepared landscape helps the installation go even faster.
Clean bed edges, visible irrigation components, controlled weeds, accessible planting areas, and the proper soil condition allow our crew to create a smooth 2 to 3-inch bark layer with fewer interruptions.
A little preparation before the blower truck arrives can produce cleaner beds, more consistent coverage, stronger weed suppression, and a finished landscape that looks professionally maintained from day one.