
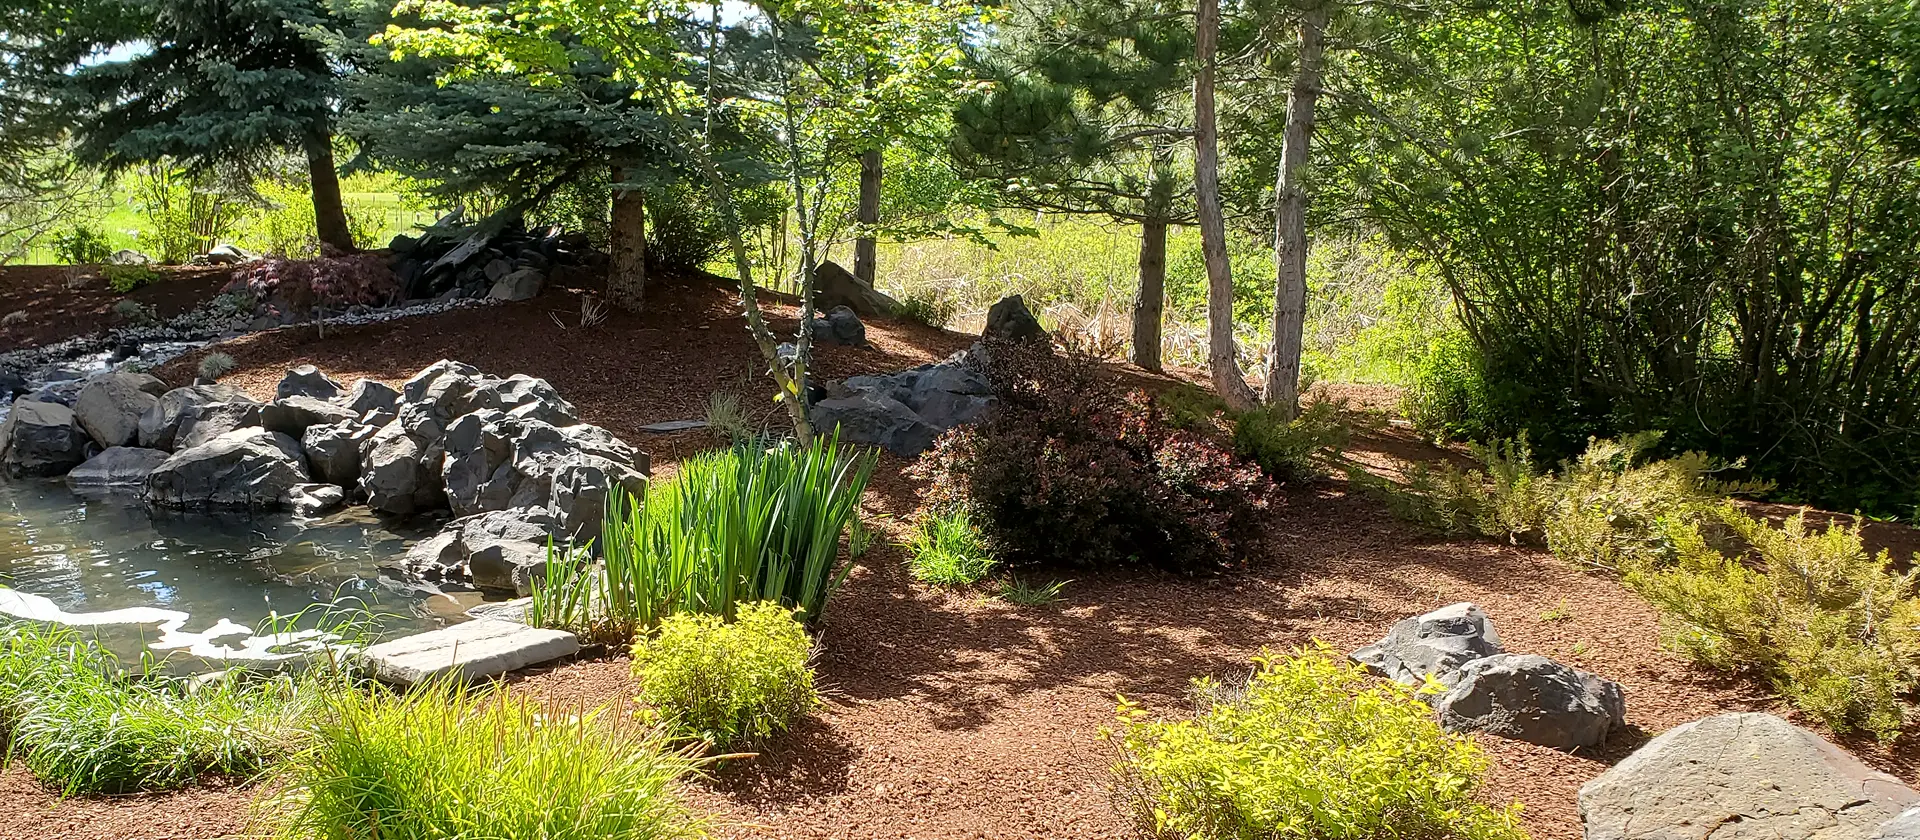
A dry creek bed manages spring snowmelt and heavy runoff by giving water a stable, rock-lined path away from lawns, mulch beds, slopes, and structures. The best setup starts with a shallow trench, non-woven geotextile fabric, 1.5 inch to 4 inch rounded river rock in the main channel, and larger 3 inch to 9 inch cobble along curves, banks, and high-flow zones. NRCS describes a rock-lined swale, or dry creek bed, as a rock channel that can convey runoff while creating a natural creek-bed look.
Why Dry Creek Beds Work in the Inland Northwest
In Coeur d’Alene, Post Falls, Hauser, Hayden, Liberty Lake, Spokane Valley, Sandpoint, and nearby Inland Northwest communities, spring snowmelt can carve channels through mulch beds, wash soil from slopes, and leave soggy low spots behind.
At Alpine Bark Blowing, our team helps homeowners and contractors choose decorative rock, sand and gravel, delivery, and bulk material support for drainage-focused landscape projects.
A dry creek bed works because it turns uncontrolled runoff into a planned drainage route.
Step 1: Mark the Water Path
Start where water collects or enters the yard, such as a downspout outlet, slope, driveway edge, or low lawn area. Route the bed toward a safe outlet, never toward a foundation, neighboring property, septic area, or erosion-prone drop-off.
A natural dry creek bed should curve gently. Straight channels can look harsh unless the area requires a utility-style swale.
Step 2: Dig the Channel
Excavate a shallow trench wide enough to handle expected runoff. The center should sit lower than the edges so water stays in the channel. For most residential beds, a soft V or shallow U shape works well.
Keep the flow path sloped from start to finish. NRCS recommends at least a 2% slope so water moves away from structures and reaches the planned destination.
Step 3: Add Commercial Geotextile Fabric
Line the trench with non-woven geotextile fabric before adding rock. This helps separate soil from stone, reduces rock sinking, and limits sediment movement into the channel.
Overlap seams generously and carry fabric slightly up the side banks. Trim excess after stone placement for a cleaner edge.
Step 4: Build the Base With Smaller River Rock
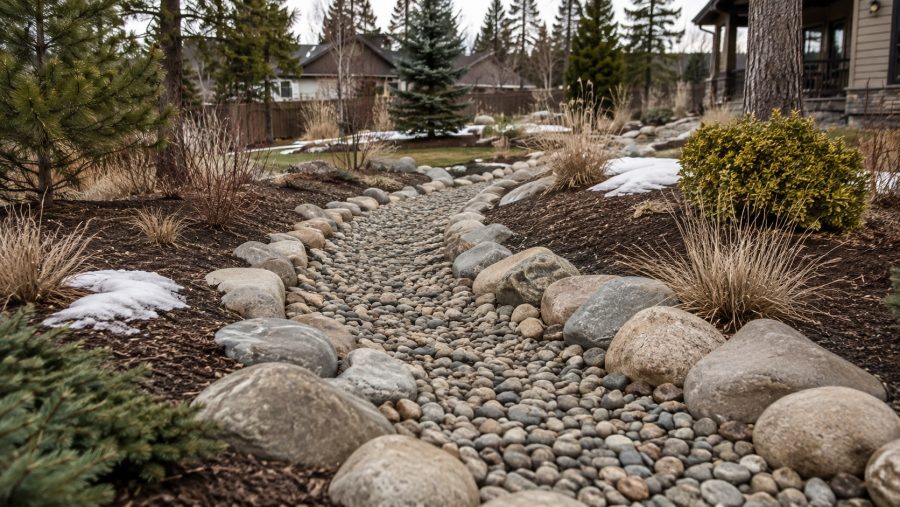
Use 1.5 inch to 4 inch rounded river rock through the main channel. Alpine Bark recommends this size range for the primary flow path because rounded rock helps water move through the bed while creating a natural stream appearance.
Avoid filling the entire bed with one stone size. Mixed rock looks more natural and handles water better.
Step 5: Anchor Banks With Larger Cobble
Use larger 3 inch to 9 inch cobble or Montana Rainbow Rounds along curves, edges, downspout discharge points, and slope transitions. Alpine Bark notes that larger stones belong where water pressure is strongest, including bends, banks, and lower collection areas.
This step helps prevent rock movement during heavy snowmelt and spring storms.
Step 6: Blend the Edges
A dry creek bed should look like part of the landscape, not a ditch full of rock. Blend edges with boulders, grasses, native-style plantings, bark mulch, or low-maintenance shrubs. Keep loose mulch out of the active water path so it does not wash downstream.
For surrounding bed refreshes, bark blowing can help finish large or hard-to-reach areas cleanly.
Dry Creek Bed River Rock Sizes
| Zone | Rock Size | Purpose |
|---|---|---|
| Main channel | 1.5 inch to 4 inch river rock | Moves water and protects the base |
| Curves and banks | 3 inch to 9 inch cobble | Anchors high-flow areas |
| Decorative edges | Mixed rounded stone | Creates a natural transition |
| Planting edges | Bark or mulch outside flow path | Softens the bed without washing out |
How Much River Rock Do You Need?
Measure length, average width, and depth, then use the Alpine Bark Yardage Calculator before ordering. Alpine Bark notes that calculating channel volume helps prevent thin exposed areas and extra piles left on the property.
Maintenance Tips
Dry creek beds are low-maintenance, not no-maintenance. NRCS recommends clearing leaves, removing sediment, and replacing rocks moved by surface flow.
Check the bed after major snowmelt, spring rain, and irrigation overflow. Watch for clogged outlets, exposed fabric, displaced cobble, or new erosion at the discharge point.
Build Drainage That Looks Finished
A dry creek bed can solve runoff problems while adding a polished river-rock feature to the yard. The key is proper trenching, fabric, mixed rock sizes, secure outlets, and enough large cobble where water moves fastest.
For river rock drainage solutions, mixed cobble, commercial geotextile fabric, pickup, or delivery, contact Alpine Bark Blowing or explore decorative rock options for North Idaho and Eastern Washington projects.
FAQs
How do you build a dry creek bed?
Mark the water path, excavate a shallow sloped trench, install non-woven geotextile fabric, add small river rock in the channel, then place larger cobble along banks and curves.
What are the best river rock drainage solutions?
Rounded river rock works well in dry creek beds because it slows runoff, protects soil, and creates a natural-looking drainage channel.
What dry creek bed river rock sizes work best?
Use 1.5 inch to 4 inch river rock in the main channel and larger 3 inch to 9 inch cobble along bends, banks, slope changes, and discharge points.
Should landscape fabric go under river rock?
Yes. NRCS recommends non-woven geotextile fabric beneath rock in dry creek beds to help separate soil from stone.
Where can homeowners order river rock near Coeur d’Alene or Spokane?
Alpine Bark Blowing supplies decorative rock, sand, gravel, bark, soil, pickup, delivery, and bulk landscape materials across North Idaho and Eastern Washington.